24 Jan 2020

Christmas 2019 - pattern paper background


Sorry for the long hiatus. I have been really busy. I just couldn’t find the time to blog. I still try to make cards whenever I can but blogging been taking a back seat as I wanted to let my physical self rest whenever I have free time and not burnt out. I generally craft & get the blog write- up done during my off days from work. But with short staffing at work, I couldn’t take time off. It does take a bit of time and effort to blog. Anyway, I made a bunch of Christmas cards this year with the little challenge I set myself and would like to share with you here. Hope you enjoy this very late post. I am really sorry for the bad photo quality here as it was really gloomy in November and December 2019 and I couldn't get any decent pictures.


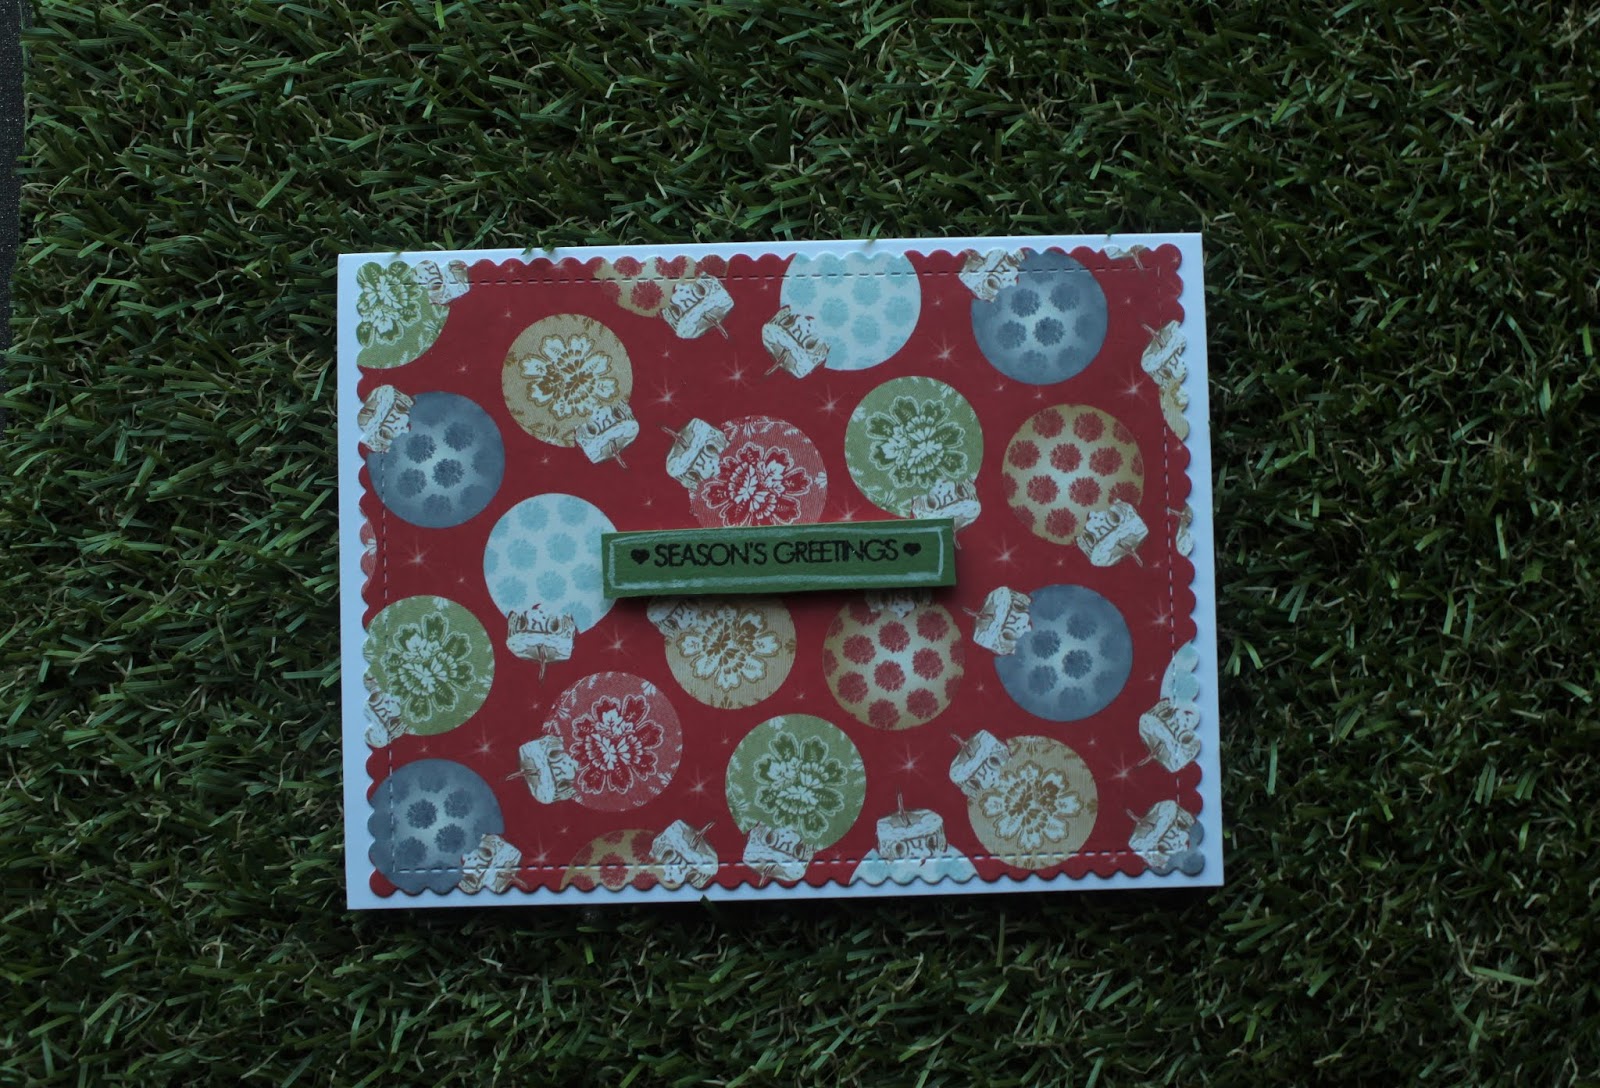
I have this pad of beautiful Christmas theme pattern paper that I have for a while and been wanting to use them but years past and I have yet figured out how I wanted to use them. So I set myself a challenge to use them for this year Christmas card. Somehow, I ended using all the pattern papers as background.


For some of the cards, I added word dies and top up with lots of shine & gloss using Wink of Stella & Glossy Accents.


The following cards had various sentiment strips.


Shaped element were added to the remaining cards which I stamped with sentiment.


I hope you will find this post give you the courage and incentive to play with those pretty pattern papers instead of saving them for the perfect moments (which may never come)  or for fear of messing them up. I took the plunge and am happy with what was created.

26 Jul 2019

Peek-a-boo card


I came across peek-a-boo card from one of Jennifer McGuire’s video and was intrigued. Glad, I finally found time to make one. I am just sharing what I did, for details on how to make this type of card, pop over to Jennifer’s blog or youtube channel.


First, you need to cut 3 card with the following sizes: Front of the card (4¼ x 8¼ inch, scored at 2¾ inch), the inside of the card (4¼ x 8½, scored at 4¼ inch) and the back of the card (4¼ x 5¾ inch, scored at 5½ inch). 


Die card a circle window in the same position on the right half of the front panel and the inside panel. To do this, I temporarily taped the 2 pieces of card together and die cut them together. 


Next, I stamped the cow and pig on 2 circles that slightly larger than the die-cut circle and coloured the images. For the babies card, I just stamped the baby images directly onto the card as I did not like the card pieces getting stuck (even with the tape trick).


To assemble the card, tape/glue the back card and the inside card together first. Then line up the front card with by aligning the circle die cut and glue them together. The flap on the front card with the image with fit in between the inside card and the back card.

As you open the card, you will get the peek-a-boo effect. 


Hope you enjoy today’s post


7 Jun 2019

Box pop up card pony party


Hello and welcome! I have 2 box pop-up cards to share with you today. These are another fantasy theme card, with rainbows, ponies, unicorns and birdies having a FUN party in the clouds.


1) Like the last card, the first step is to die cut the Lawn Fawn Scalloped Box card pop up and the various panels.


 2) For the first card, keeping in line with the sky theme, I used star filled patterned paper from Forever Friends Christmas Snow paper pad for the side panels. For the second card, I used Forever Friends Spring Time paper pack to have a flowery spring feel.


 3) For the first card, the front panel of the card was die cut so that it is also a window card. Clouds were added to the inside panel with MFT Mini Cloud edges stencils and Altenew Sea Glass ink.


 4) Ponies were from Simon Says Stamp Mini Pony Party, the birds were from MFT Happy Hippos. Clouds were die-cut from Mama Elephant Rainbow High. For the second card, the clouds were die cut from tracing paper and coloured with copics from behind.


5) The sentiments were from Mama Elephant Make a Wish and Simon Says Stamp Mini Pony Party


6) Finally, all the images were put together onto the box pop-up card.


I hope you like today's cards and have a great day ahead!


3 May 2019

Pop up box card - Fairy Garden


Hello and welcome to my blog. I hope you will enjoy it. Today I am sharing my fairy garden with you. This is a box pop-up card. I did a box pop-up card a while back and a lot of people like it, and it was super fun to make. Hope you will give it a try.

16 Apr 2019

Framed Fairy


Hello and thanks for dropping by! It’s been a while since I craft as I was busy with some personal stuff. Recently (finally), I bought a shelf to store all my crafting equipment and materials and re-organised by crafting area. Whilst doing that, I found some images that I had stamped and colored but never used on a craft project yet, and I wanted to use these pretty images.

6 Feb 2019

Christmas 2018 - Reindeer


Welcome to my last card for this Christmas card series. Thank you for dropping over. I really appreciate your support. This is another quick and simple card to pull together. I loved this red and gold felt reindeer die-cut which I had in my stash so I wanted to use it. 

31 Jan 2019

Christmas 2018 - Xmas tree


Hello everyone and thank you very much for dropping by. This card is very similar to one I did last year where I used my favorite Christmas items and made them into a wreath. This year, I arranged them into a Christmas tree.