I came across peek-a-boo card from one of Jennifer McGuire’s video and was intrigued. Glad, I finally found time to make one. I am just sharing what I did, for details on how to make this type of card, pop over to Jennifer’s blog or youtube channel.
First, you need to cut 3 card with the following sizes: Front of the card (4¼ x 8¼ inch, scored at 2¾ inch), the inside of the card (4¼ x 8½, scored at 4¼ inch) and the back of the card (4¼ x 5¾ inch, scored at 5½ inch).
Die card a circle window in the same position on the right half of the front panel and the inside panel. To do this, I temporarily taped the 2 pieces of card together and die cut them together.
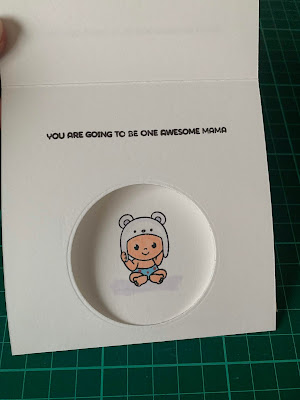
Next, I stamped the cow and pig on 2 circles that slightly larger than the die-cut circle and coloured the images. For the babies card, I just stamped the baby images directly onto the card as I did not like the card pieces getting stuck (even with the tape trick).
To assemble the card, tape/glue the back card and the inside card together first. Then line up the front card with by aligning the circle die cut and glue them together. The flap on the front card with the image with fit in between the inside card and the back card.
As you open the card, you will get the peek-a-boo effect.
Hope you enjoy today’s post


