
Hello! Thanks for coming over.
Hope you are having a great day.
Today, I am sharing how I created
this fun, interactive light up card. I bought this Chibitronics Chibi Lights LED Circuit Stickers starter kit a while ago but haven’t got round to
playing with it. I had a lot of fun creating this card, reminiscing my time in
a Physics laboratory when we had to create series and parallel circuit.

I wanted a simple card with the
focus mainly on the cake & the light. The cake was die-cut using a free die
from Cardmaking & Papercraft magazine, which I got from a local bookshop.
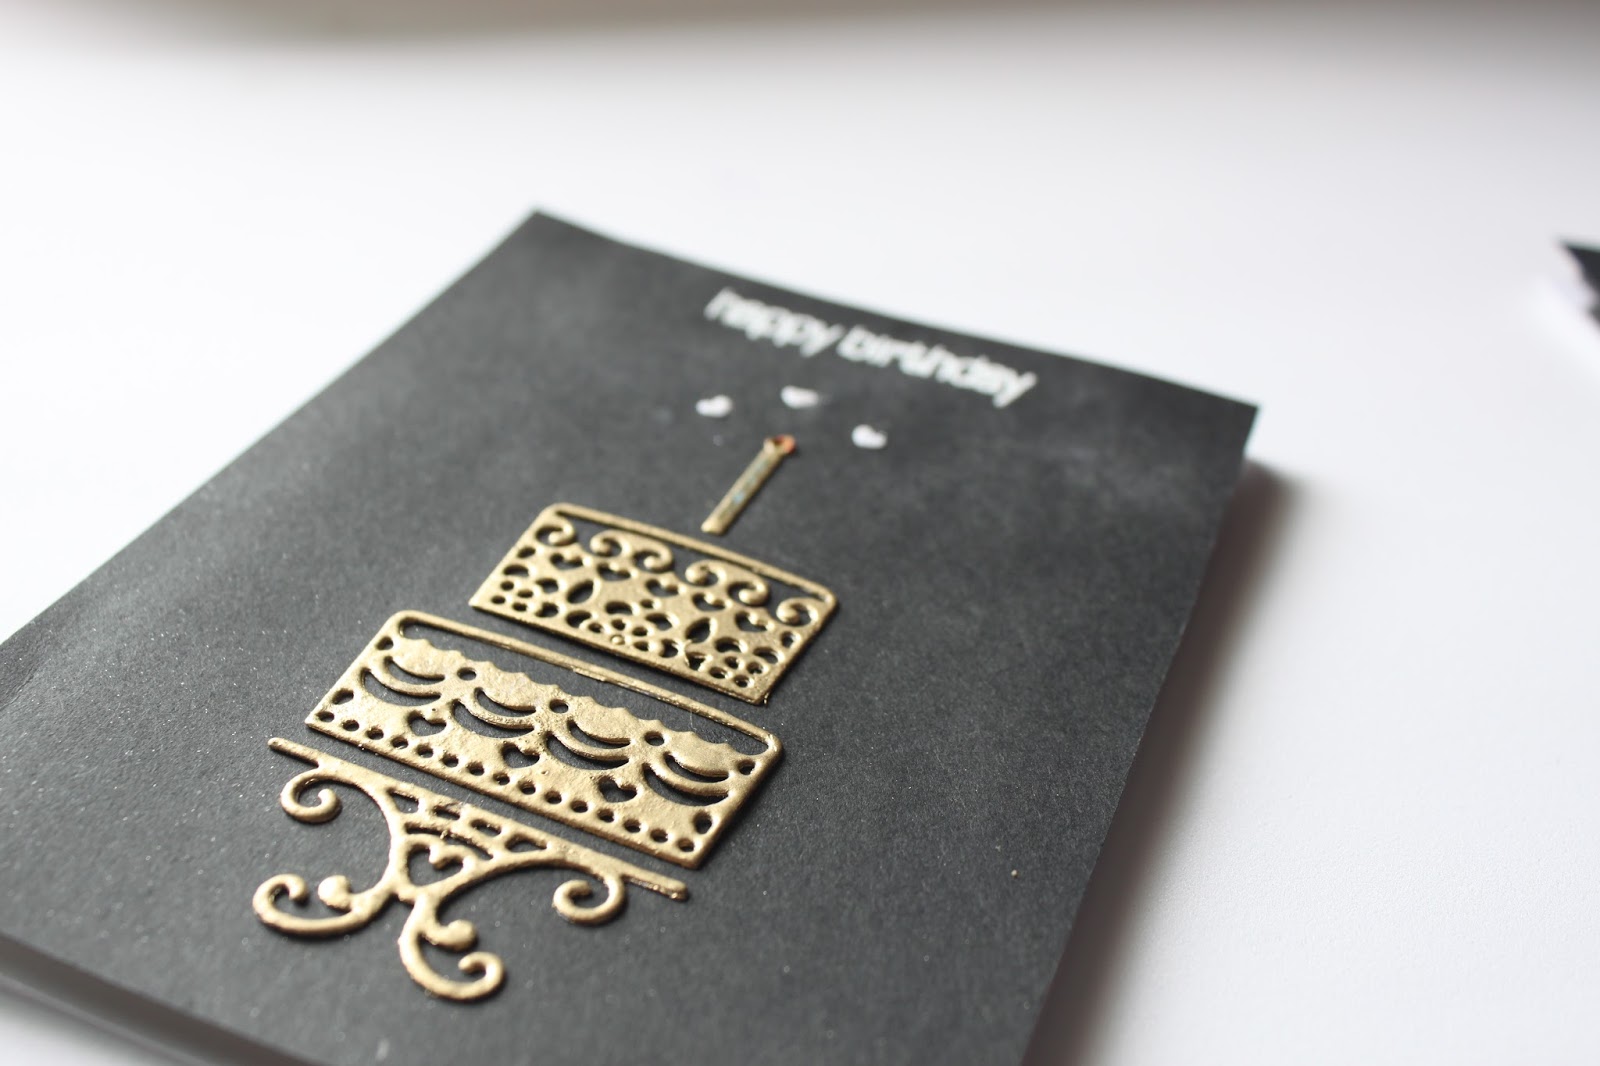
For the gold cake, I layered 2
pieces of die-cut together and encased them in WOW gold embossing powder
after pressing it into my Versamark stamp pad. I repeated the process
twice to ensure they were coated completely.

I used my piercer to punch a hole
in the candle. This was where the LED light will be positioned behind. The
starter kit gave clear instructions on how to assemble the lights. The first
thing to do was to mark the position of the light(s) and where the recipient
had to press (this would be where the battery should be positioned). Then I
connected the battery to the light using the copper tape provided, making sure
that the positive side of the battery lined up with the positive side of the
lights and vice versa. It was important to use a continuous tape, as I learnt
the hard way when I tried to put together short pieces of tape. Luckily the
card was not ruined when I had to remove the tape and reconnect the circuit.

The sentiment was white heat
embossed onto the card. Looking back now, I thought perhaps I should had gold
heat embossed but it was too late.
To put the card together, I
layered 4 layers of foam tape around the card and the battery to give sufficient
spacing for the battery such that the light would lit only when the battery was
pressed.
I finished the card with some
Shimmer mist and embellished with some heart die cut from the cake which I
coloured with Spectrum Noir for added shine.
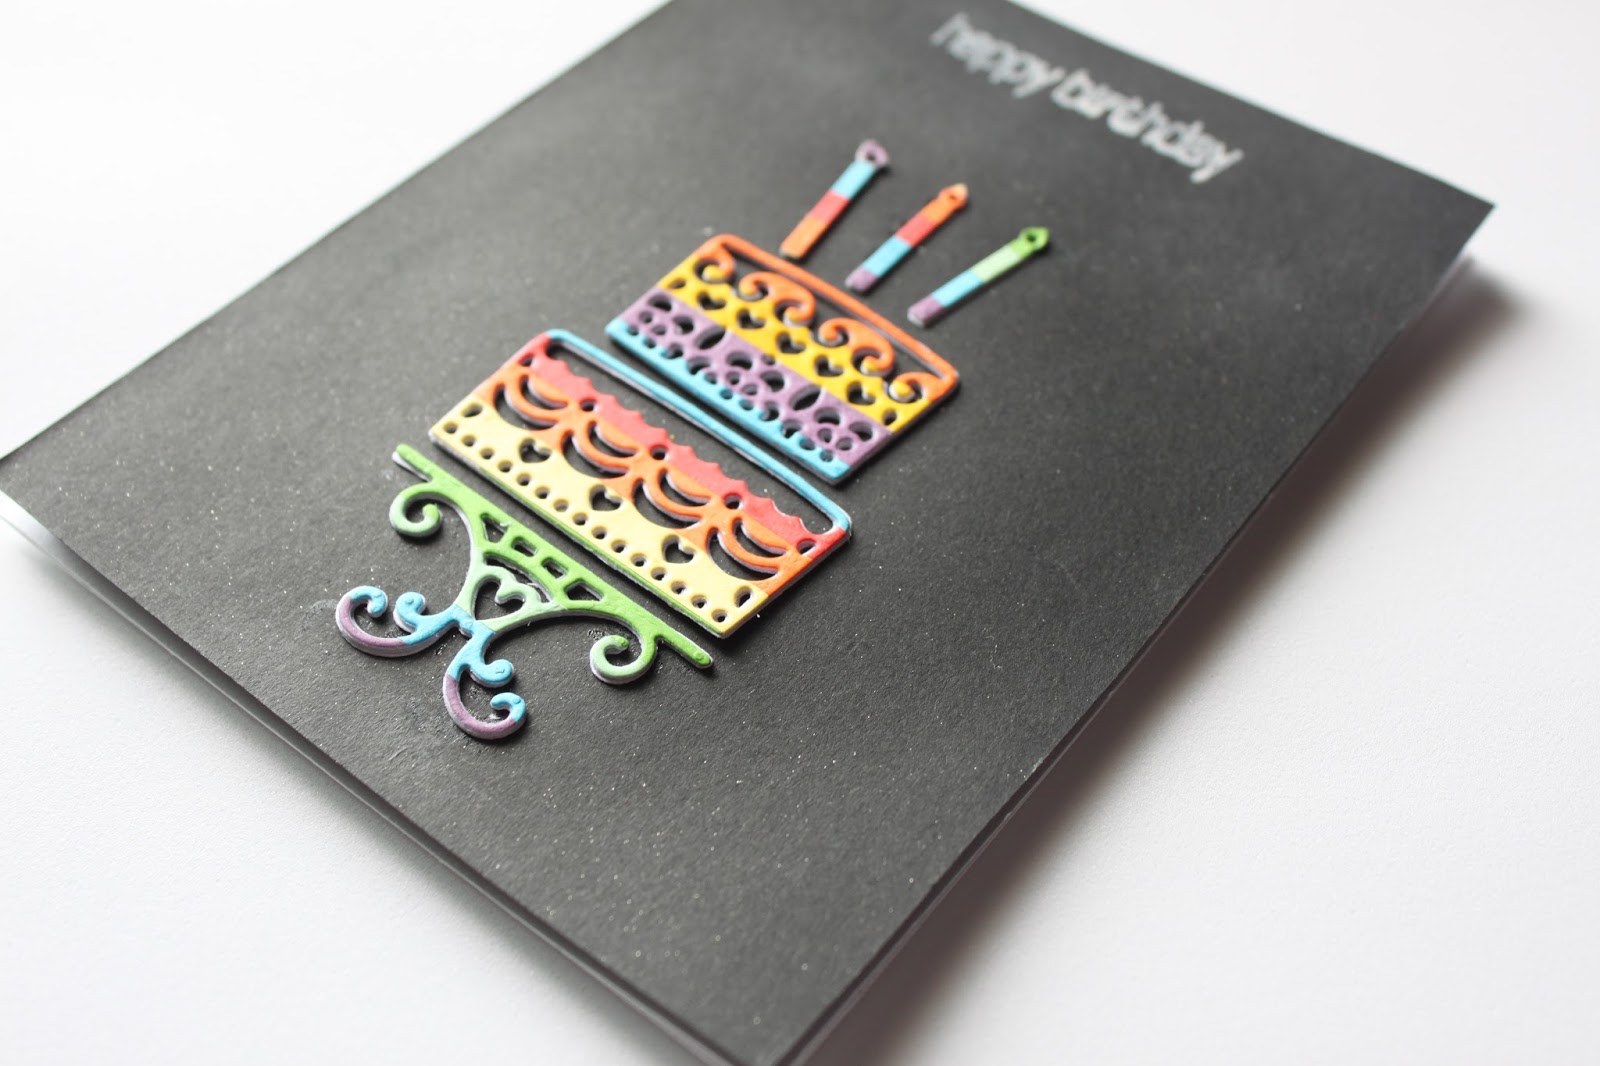
I needed to do one with my
rainbow card stock (see past Rainbow series). I layered a few layers of die
card to give the cake some dimension. I had 3 candles with this card and was so
happy when all 3 lights lit up. This
card was perfect for a birthday celebrant who needed a colourful cheer.
I hoped you enjoyed today’s card.
And have a great week ahead.

No comments:
Post a Comment